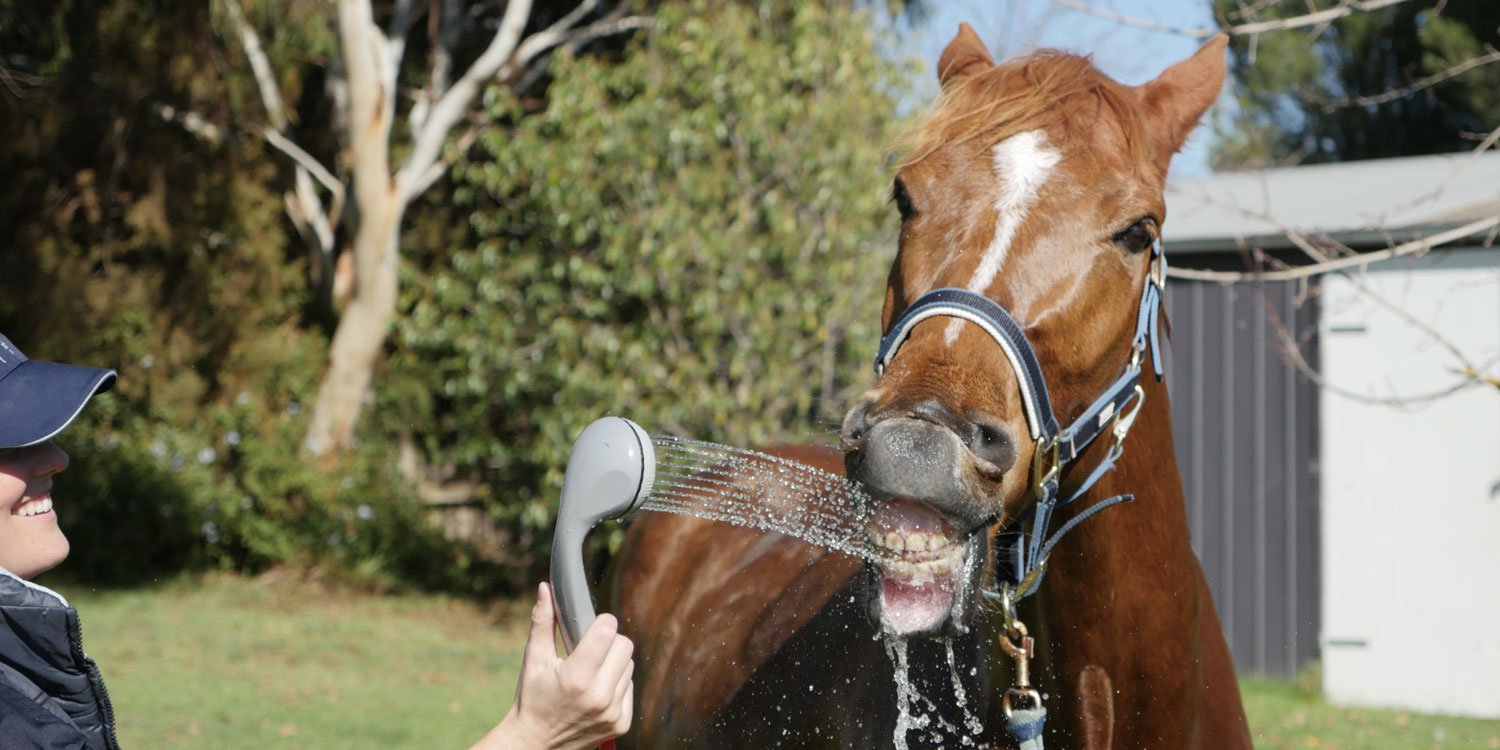
How to shower your horse with love
As much as we tend to overly humanise animals, horses do have at least one thing in common with us: they’re no fans of cold showers. It’s no wonder if your trusty steed throws a tantrum when a bucket of freezing water hits his head (and no wonder if you receive a painful 400kg reminder not to do it again). Warm water is definitely the go (some would say that anything else is neigh on impossible). But it doesn’t stop there; there are several important points to cover to keep everyone involved fresh, safe and healthy. Shortly put: this is no time for horsing around. Read on to get your Master Horse Whisperer degree in equine grooming.
First things first: if you can, avoid showering your horse on hard concrete floors indoors. Not only do they get slippery when wet; cleaning up becomes a chore since sticking a vacuum in water is a bad idea, and high humidity can quickly create mould in the stables. You also want to get away from the oftentimes busy and noisy indoor environment, so that your horse is as relaxed as possible. Find a safe outdoor area where the runoff won’t create a muddy mess (a rubber mat can be useful), and stay clear of farm machinery, tools, ditches and other potential hazards that could injure your horse if it panics and takes off.
Of course, we’re now assuming that you have all the necessary washing equipment within reach. Here’s a handy list of everything you’ll need:
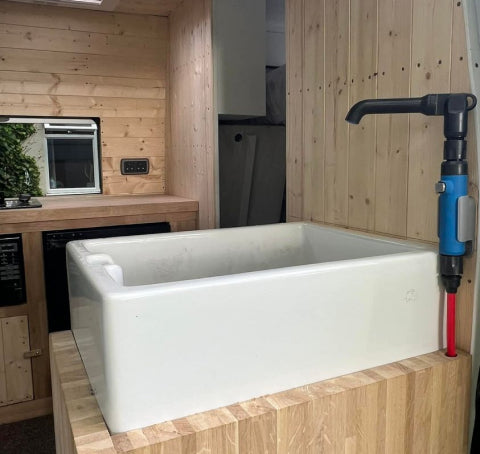
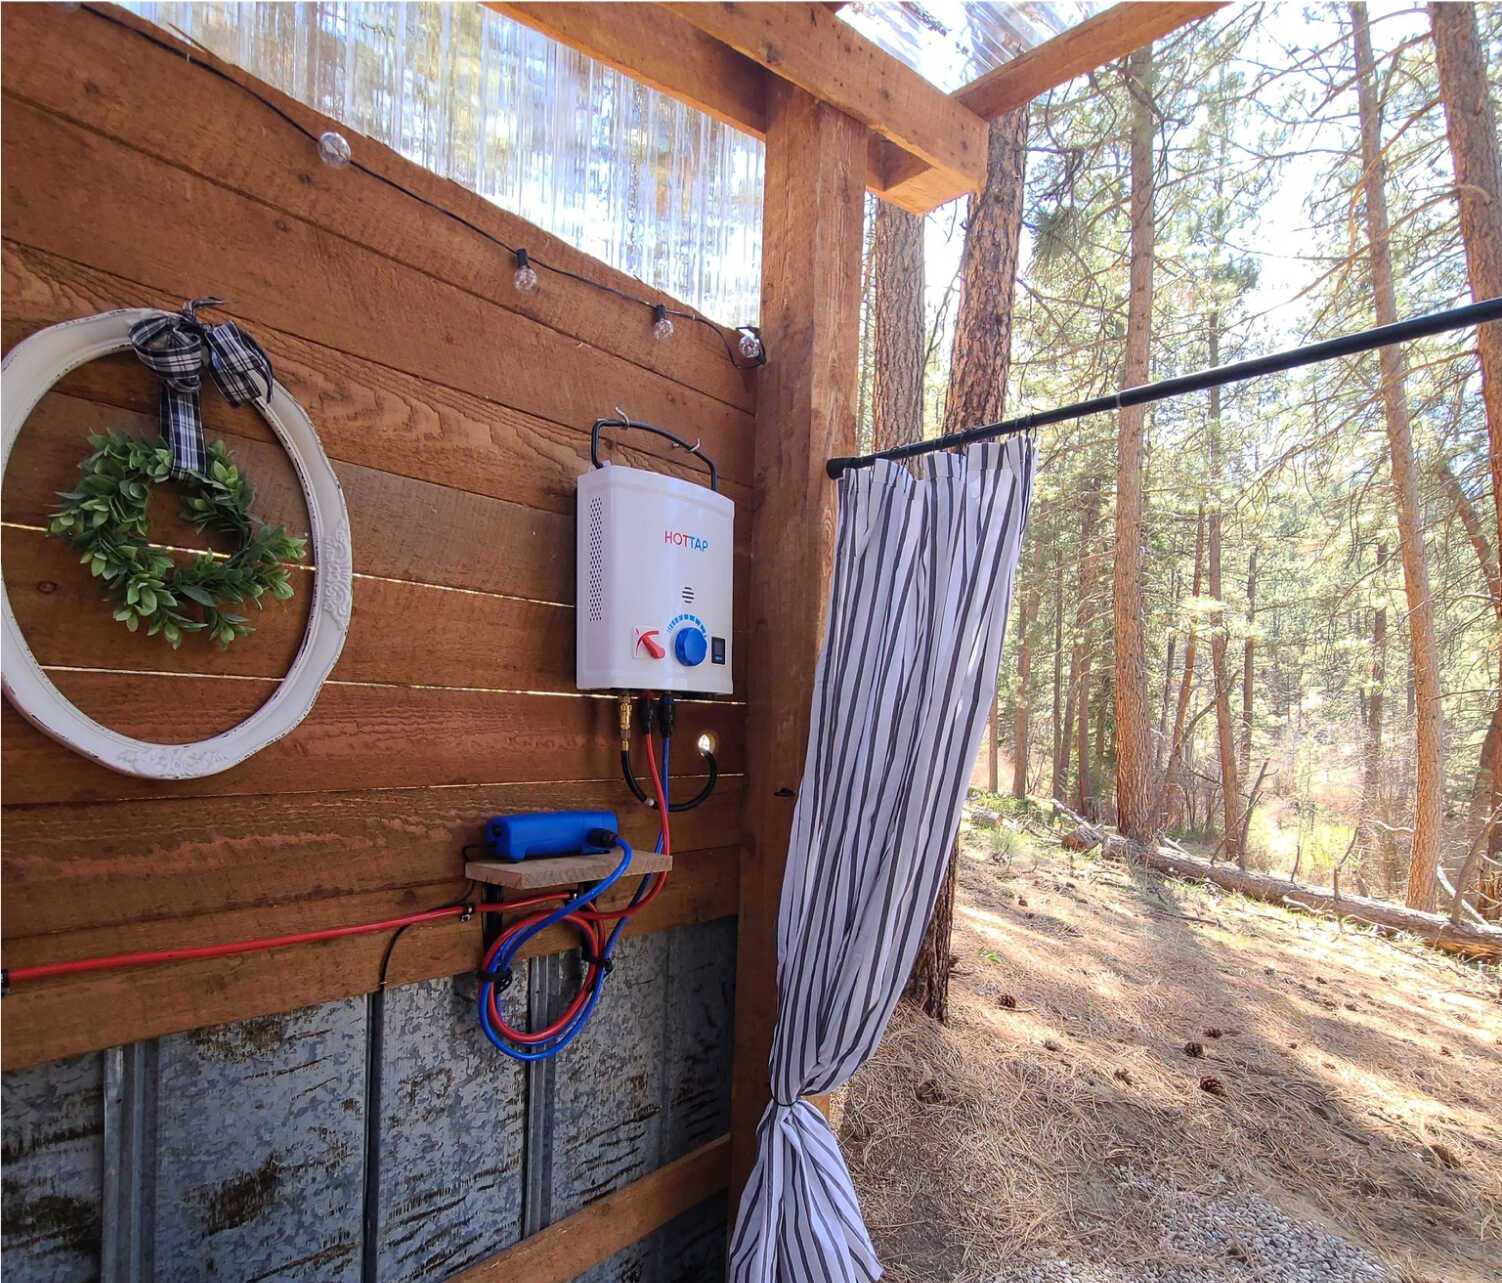
- Portable hot water system with automatic overheating shutdown
- Sweat scraper
- Curry comb (rubber- or plastic-bristle comb)
- Dandy brush (stiff-bristled brush from animal hair or synthetic fibre)
- Wide-toothed mane comb
- Bucket
- Sponge
- Clean cloth or cotton wads
- Horse shampoo (special guidelines apply; more on this below)
- Old towels
- Stable footstool (that’s “stable” as in “steady”, but feel free to use it indoors, too)
The most practical solution is to mount the hot water system at working height on a trolley, set up a hook for the shower hose, strap on a tray where all the grooming equipment goes, and plonk the gas cylinder onto the bottom fork. Now you have a mobile wash station that you can shift around with ease, giving you minimal excuse not to deal with the all-important grooming. All you need to do is connect water, and you’re good to go.
Ok, so you’re all set up and ready to get grooming. As you do, bear in mind that your horse will remember the experience; if it enjoys it, next time will be even easier – and if it gets spooked, well, hello, square one! Using a helper to hold the horse whilst you work is optimal. Failing that, either gradually train your horse to stand still during the process or tie it up using a quick-release knot. Should the horse lose its cool, you’ll be grateful for not having to fumble around with an elaborate sailor’s knot; a tug on the quick-release is all it takes, and you can move out of harm’s way. Do whatever you can to let the horse get used to the process and never feel threatened. Speaking of which, for your own safety, never stand directly behind the horse whilst working, and never put your face above the horse’s head. Even the gentlest horse can suddenly throw its head up if uncomfortable or scared, leading to expensive dentist bills on your part. And you don’t even want to contemplate what kinds of bills could eventuate from a solid kick. Work beside the horse at all times.
Now, let’s get into the groom. Here’s a good working order:
1. With the horse still dry, work the curry comb in a circular motion to dislodge engrained dirt and lift it to the surface of the coat. This is efficient, but be mindful that the curry comb might be too stiff to use on areas where there’s only a thin layer of fur above the bones and muscles. You may want to use the softer dandy brush on the legs and face of the horse, where you carefully brush along the hairs.
2. Next, sort out the mane and tail with the mane comb. Be gentle, and revert to using your fingers to tease out tricky knots or stubborn debris. Remember: time spent on making this an enjoyable experience for the horse is a great investment in future compliance and general happiness. And, again: no standing directly behind the horse.
3. Remove the nozzle from the shower and set it to a slow flow at a nice, warm temperature. Then start by wetting the horse’s front legs from the bottom up, and then do the same with the back legs, working the water into the deeper layers of the fur. You’re giving the horse a chance to understand what’s going on, so that it won’t protest by the time you get to the most sensitive area – its head and face. If it seems a bit concerned, just slow things down before you move on to its flanks and tail (which you can swish around in a bucket of warm water). Don’t touch its head for now.
4. Clean the anus and, if it’s a male horse, the sheath. Use a clean cloth or cotton wads, keeping anything you use on the anus separate for that purpose. Should your horse suffer from any condition in these areas, there are special cleaning solutions that you can apply. Otherwise, use nothing but warm water.
5. Soak the sponge in warm water and squeeze it out on the horse’s head and face, taking care not to flood its eyes. If your horse readily accepts this, you can trial the hose at a slow flow next time.
6. Next up is shampoo, it at all needed. Only use shampoo specially formulated for horses, because they have a different pH to us humans, and do not use it on the horse’s genitals, anus or head. Trial any new product on a small area to test for potential allergic reactions, and consider skipping shampooing altogether if it’s the first time you shower your horse and it shows signs that it’s not going to take kindly to being rinsed off once the shampoo is in its fur. Also be aware that shampoo will strip away essential oils from the horse’s fur, depleting its waterproofing capability. If you shampoo more than once a month, keep the horse stabled.
7. Referring to the manufacturer’s instructions, work the shampoo into the fur with a wet sponge, taking care to rinse it off before it dries out, which can easily irritate the skin and lead to a dull coat. Use plenty of water when rinsing, until there’s no foamy runoff.
8. Once you’re done rinsing, use the sweat scraper to squeegee off most water, working the horse from top down. For sensitive areas, you can use the palm of your hand. Then towel the horse dry. It’s important not to skip this step, because you have wetted the fur beyond what happens when it rains or snows, so any water left in the coat could quickly make the horse overheat or freeze as the trapped water is either heated or cooled by the surrounding temperature.
9. Put some old towels on the horse’s back, topped by an Irish-knit cooler and, in colder climes, cover with a full-body cooler. Do not blanket, and make sure to only use water-absorbing, breathable fabrics next to the skin. Leave the towels in place for 10-15 minutes as you walk the horse, and then remove the towels to let the Irish knit absorb remaining dampness.
10. Keep tabs on the horse until you can feel that the hair next to the skin is dry when you ruffle its coat. Complete drying can take anywhere from one to several hours. Be aware that horses like rolling after bathing, so you should not leave your horse to its own devices in a dusty paddock during this time, or it might undo much of the work you just put in. Tying the horse in its box might be preferable, and, if it’s really cold, put a hay bag nearby, so that it can get warm through chewing and digestion.
That just about wraps up your Master Horse Whisperer degree in equine grooming. Rules of thumb: treat your horse as you would your baby – be gentle, keep it warm and comfortable, and give it time to get used to the whole process. If you do this well, both you and your four-legged friend could soon be looking at shower time in a completely new light. This is an awesome opportunity not only to stay fresh and healthy, but a great time to enjoy what having a horse is really all about. Bonding.